Thank you Invitations by Tango Design for sharing…..
Introduction and Credentials…
DIY wedding invitations is one of those topics that is hotly debated and can be somewhat polarizing in opinions.
Some love it and think everyone should do it while others think it’s better left to someone else because DIY is a waste of time.
The thing is, most of the articles written on the subject are done so by those with little to no experience in the field.
‘ve found that this leads to a lot of mis-information and a lack of real, useful tips on how to make your own invitations.
So, in this article, I’m going to reveal a few secrets that may help you to make your own, professional looking invitations.
By the way, I’m one of the partners in Tango Design, so with over 12 years experience and plenty of awards to our name, you know the information below is trustworthy.
Preparation…
Think of making your invitations as a project and you’ll tend to do a much better job.
And, one of the keys to any project is planning.
Every job we do is a project for a customer so we start by working out what materials we’ll need and we separate them into a box and put the customer’s name on it.
You’re probably not going to have everything you’ll need at hand, so buying the materials and tools you’ll need is a good early step.
Thank God for the internet!
If you’re making your own invitations in an attempt to save money, then getting everything from one place, either online or a bricks and mortar store is a real saver.
Consider this: If you save 10c a sheet on paper from a secondary supplier but it costs you $10.00 in shipping or fuel, you’ll need to get over 100 sheets to actually save money!
Tip 1: Remember to account for fuel and shipping costs when buying your materials.
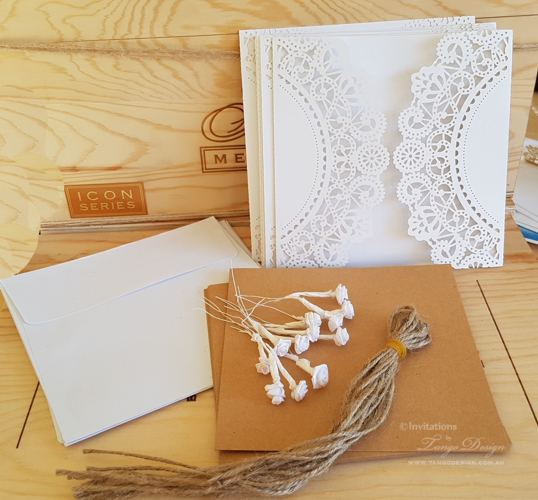
Tip 2: A kit with all the bits you need from a professional supplier will probably be cheaper than buying the pieces individually, even from the same store.
Tip 3: Contact suppliers by email or phone to ask questions before making your purchase.
Things like: Are instructions included with their DIY kits or do they expect you to work it out yourself?
Tip 4: If you didn’t get instructions, write or draw some yourself.
Once you get started on the actual production tasks, you may find yourself too absorbed in the process to stop and think.
Many people make mistakes and waste materials, not to mention money and time, because they didn’t follow instructions.
I’ve found from experience that the two main reasons people fail to do a good job on their invitations are a lack of preparation and planning or not having the right tools for the job.
Funnily enough, counteracting the first reason doesn’t cost a cent.
Tip 5: Blocking out time in your schedule for each of the tasks involved in making the invitations.
Allowing more time than you think you’ll need is wise because generally speaking, when you do something for the first time, it takes longer than it does someone who does that task often.
Design and Layout…
MS Word* or similar was not created for the purpose of designing and printing.
So, if you want something professional looking, you should use graphics software like CorelDraw*, Illustrator*, etc.
The main difference between these, is that graphics software lets you put things exactly where you want on the page.
For invitation design, that’s hugely beneficial! Without it you’ll spend hours and many, many test prints just trying to position basic text properly.
Graphics software will also make the inclusion of images much easier.
Tip 6: Corel* has a 30 day free trial of its CorelDRAW* software.
Also, Serif* has a totally free product that you can download called DrawPlus*.
It’s less comprehensive but will do the job for most people.
Tip 7: Always do a test print using regular copy paper before doing the full print run.
Cut and fold as needed for your design to make sure everything is okay, before you waste all your good card.
Assembly…
Time to cut, fold and assemble the invitations.
Depending on your chosen design, this may be quick and easy or a series of lengthy tasks.
Quite often people choose designs that require sticking layers of paper and card or ribbons and other embellishments.
These tasks can be quite time consuming and require patience but the results are well worth it!
Tip 8: To get a professional finish when folding cards, use a scoring tool.
Craft shops often have cheap scoring plates, with grooves for commonly used folds, that will enable you to easily do a good job.
Tip 9: To easily stick paper, card, ribbon and some embellishments, without making a mess, use double sided tape instead of glue.
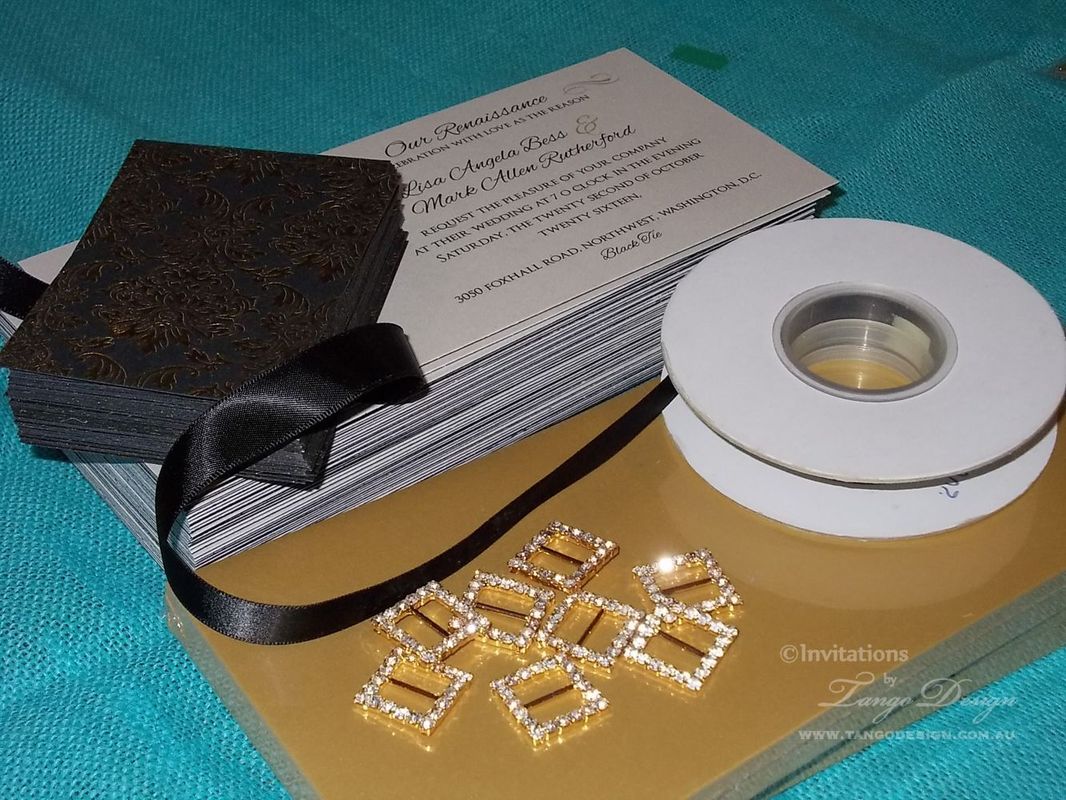
Tip 10: For bulkier embellishments like crystal brooches, starfish or beads, we use precision super glue rather than a hot glue gun or craft glue.
It’s fast drying and provides nearly instant adhesion, which makes it quicker and cleaner to use.
Just be careful with the amount you use.
Glue dots are also great if the embellishment is not so heavy.
Tip 11: If using ribbon or lace on multi-layered invitations, fold the ends under the top card and sandwich between the layers to get a tidy finish.
Most people just stick the ribbon or lace to the top card then trim the edges.
The ribbon or lace then frays at the edge of the card leaving the while thing looking messy.
Tip 12: Always make a couple of extra invitations.
Allowing for the ‘just in case’ scenarios which tend to pop up when organizing a wedding or other event is a real stress saver.
It’s much easier and cheaper to make a few extra up front, than it is to re-start the process later, even if you have left over materials.
Final Thoughts…
Tip 13: Many modern invitation makers, including ourselves, offer semi-DIY packs, where they do the design, printing and cutting tasks and leave the assembly to you.
The best thing about these packages is that you don’t need any equipment and the tasks where mistakes are more likely to occur are done for you.
I really believe that this is the best option if you’re doing DIY to save money.
That’s because any savings are totally bankable.
The issue I have with full DIY is that there are often costs that people don’t calculate.
Things like; fuel or transport, wastage, ink or toner, tools, adhesives, etc.
That means what was actually spent can be much more than originally thought!

